
If you are looking to expand on your property, add storage space, or need somewhere to put your vehicle, a detached garage can be a great asset. However, the prospect of constructing a whole new building can seem pretty daunting if you have never tried to do it before. However, we are here to tell you it’s a common misconception that the only way to get a new detached garage is to hire someone to build it.
Want to build a new detached garage on your property? Find out the exact steps in the process of how to build a garage yourself.
-
Gather Estimations and Codes
In the first step to building your DIY garage, you’ll need to gather building permits from the building department of your local area.
You’ll also need to check your local area’s building standard codes. Although you may have certain designs in mind, these codes of the standard mandate garage height, length, and placement.
In some cases, you may need to get a “variance” or authorization to build a certain design.
-
Plan the Garage Layout and Gather Blueprints
Choosing a design is a much more entertaining part of the process.
You can find lots of free garage layouts and blueprints online. While you can still create one from scratch if you wish, garage plan templates can be much more convenient.
However, be sure to take these plans to an architect so they can make professional edits and suggestions.
Architects can tailor to the garage to the design of your house so that the units match each other. For instance, it’s important to match the roof of your garage to the roof of your house for compatibility and style.
-
Review Construction Steps: How to Build a Garage
Knowing exactly what steps involved will show you the length of the project and what materials you need. Here are the main steps for the rough layout of a garage.
Step 1: Lay the Concrete Foundation
Step 2: Install Framing
Step 3: Apply Sheathing
Step 4: Install Garage Door and Windows
Other steps for a more final product include roofing and siding.
-
Lay the Concrete Foundation
Laying a solid foundation is crucial to the garage’s stability. Depending on the hardness of your soil, you can either lay out a sturdy perimeter to pour the concrete in, or you’ll have to dig out a perimeter.
After the pouring process, the concrete needs to be leveled so that it sits as an even foundation.
Although you can stick to the DIY approach, it’s common to subcontract or hire out for laying the foundation. Pouring the concrete slab and evening it out especially requires some deftness and knowledge.
-
Install Garage Body and Roof Framing
The framing is the garage’s skeleton made with wooden studs. When you construct the garage body frame, secure it to the foundation with foundation anchors.
You’ll need to consult your code standards to see the acceptable distance between studs on your frame. They should specify a maximum distance and minimum distance.
This is the part of the process where you physically lay out the walls of the garage. Make sure to account for the rough dimensions of your windows, cabinet space, and the door.
For planks, use 2×4 wood or get larger 2×6 inch wood planks for increased insulation. While you can cut your own studs, you can also find pre-cut options at your local hardware store.
-
Apply Body and Roof Sheathing
Sheathing involves laying wooden plates to reinforce the garage frame.
The edge of each sheathing plate should be centered on the stud. You’ll be nailing sheathing plates side by side, so you’ll need both plates to be able to nail two plates on one stud.
OSB sheathing is one of the best materials for this process due to its durability and insulation properties.
-
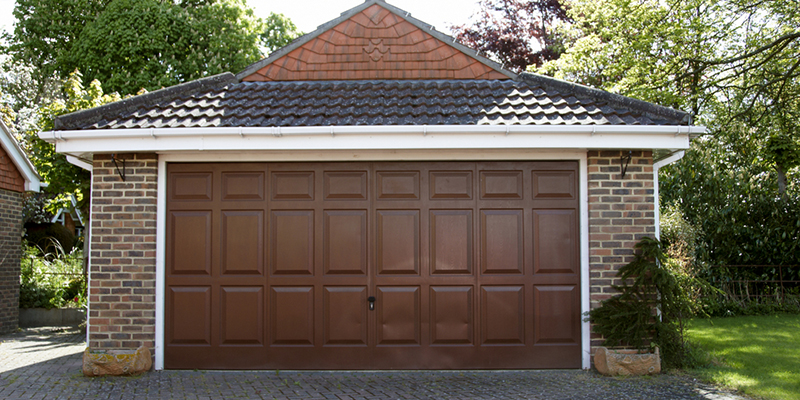
Install Garage Door and Windows
If you ordered a traditional rolling garage door, here are the supplies that typically come with the package:
- Sheet metal screws
- Hinges: Ends and centers hinges
- Struts
- Brackets: Flags, rollers, jams (and bracket tubes)
- Door track
- Rear track hanger Kit
- 1 or 2 torsion springs
Each door kit will come with unique instructions, but the basic process involves applying the hinges, brackets, and springs to their places.
Similarly, windows come with their own unique set of instructions depending on the design.
Next Steps After Learning How to Build A Garage
These steps will help you in your first steps of learning how to build a garage. There’s a wealth of additions and aesthetic touches you can add to your DIY garage, especially with garage doors. This part of your garage can give it a lot of character, even with a basic set up.
Need a hand with the last step? Contact us and we can repair the door you already have or install in a new one for you.